
Managing Customers
Managing Customers
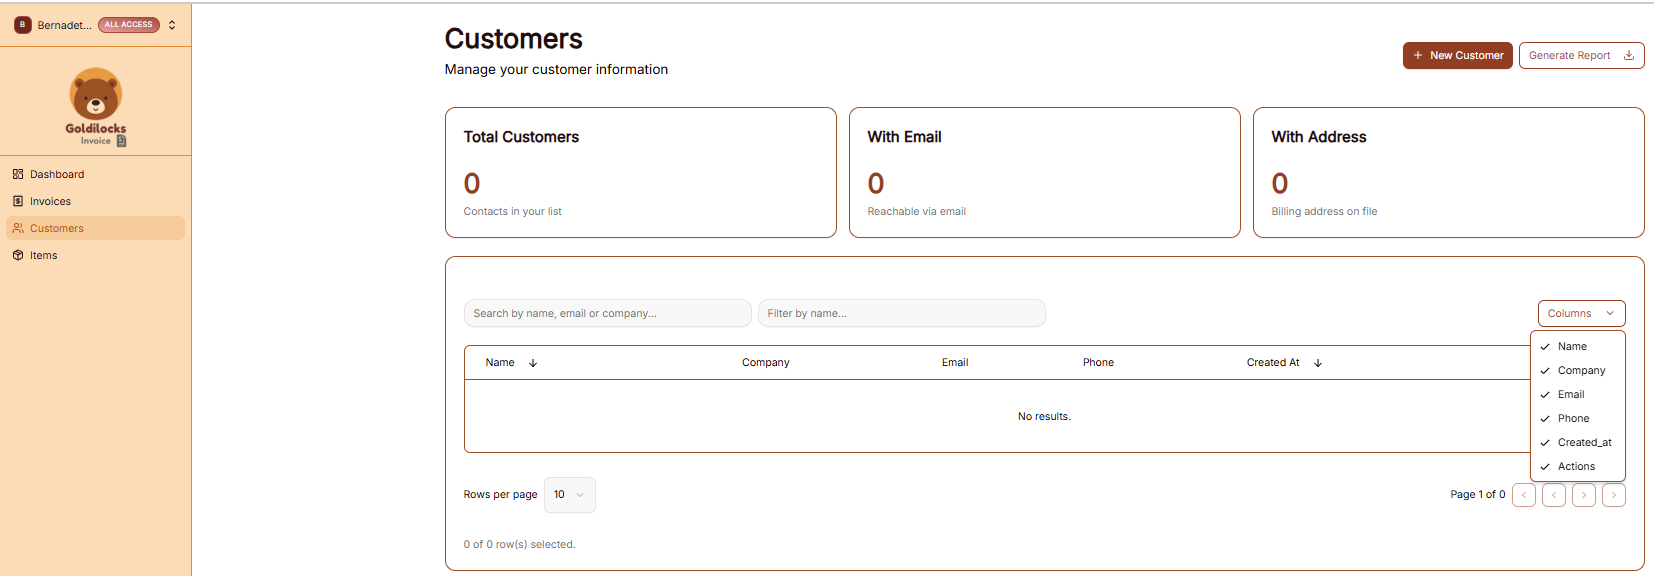
The Customers section is where you store and organize all client contact information. Having a populated customer list allows you to quickly select recipients when creating new invoices.
The Customer List View
When you click Customers in the sidebar, you’ll see a high-level summary followed by your full database:
-
Total Customers: The total number of contacts in your current workspace.
-
With Email: The number of customers that have a reachable email address on file.
-
With Address: The number of customers with a saved billing address.
-
Search & Filter: Use the search bar to find a client by Name, Email, or Company.
-
Custom Columns: Click the Columns dropdown to choose which information you want to see in the table (e.g., Phone, Company, or Created Date).
Generating Customer Reports
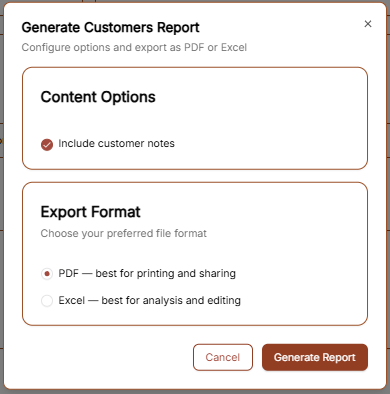
If you need a physical or digital list of your clients, click the Generate Report button at the top right. A window will appear with the following options:
-
Content Options: Check the "Include customer notes" box if you want your internal memos about the client to be included in the file.
-
Export Format:
-
PDF: Best for sharing a clean, professional-looking list.
-
Excel: Best if you need to edit the data or upload it to another system.
-
Click Generate Report to save the file to your computer.
Adding a New Customer
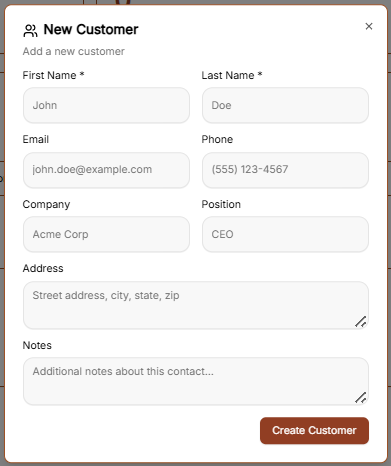
To add a new client to your workspace, click the brown + New Customer button at the top right of the Customers page. This will open the setup form where you can enter the following details:
-
Primary Identity: Enter the First Name and Last Name (required).
-
Contact Details: Add their Email address and Phone number so you can reach them regarding their invoices.
-
Professional Info: If they represent a business, enter the Company name and their Position (e.g., CEO, Manager).
-
Billing Address: Enter the full Address (Street, City, State, Zip) to ensure it appears correctly on their generated invoices.
-
Internal Notes: Use the Notes section to add any private details about this contact that you want to keep for your records. These can be included in your exported reports if you choose.
Once all the information is entered, click the brown Create Customer button to save the record to your database.
No comments to display
No comments to display