
Overview and Account Setup
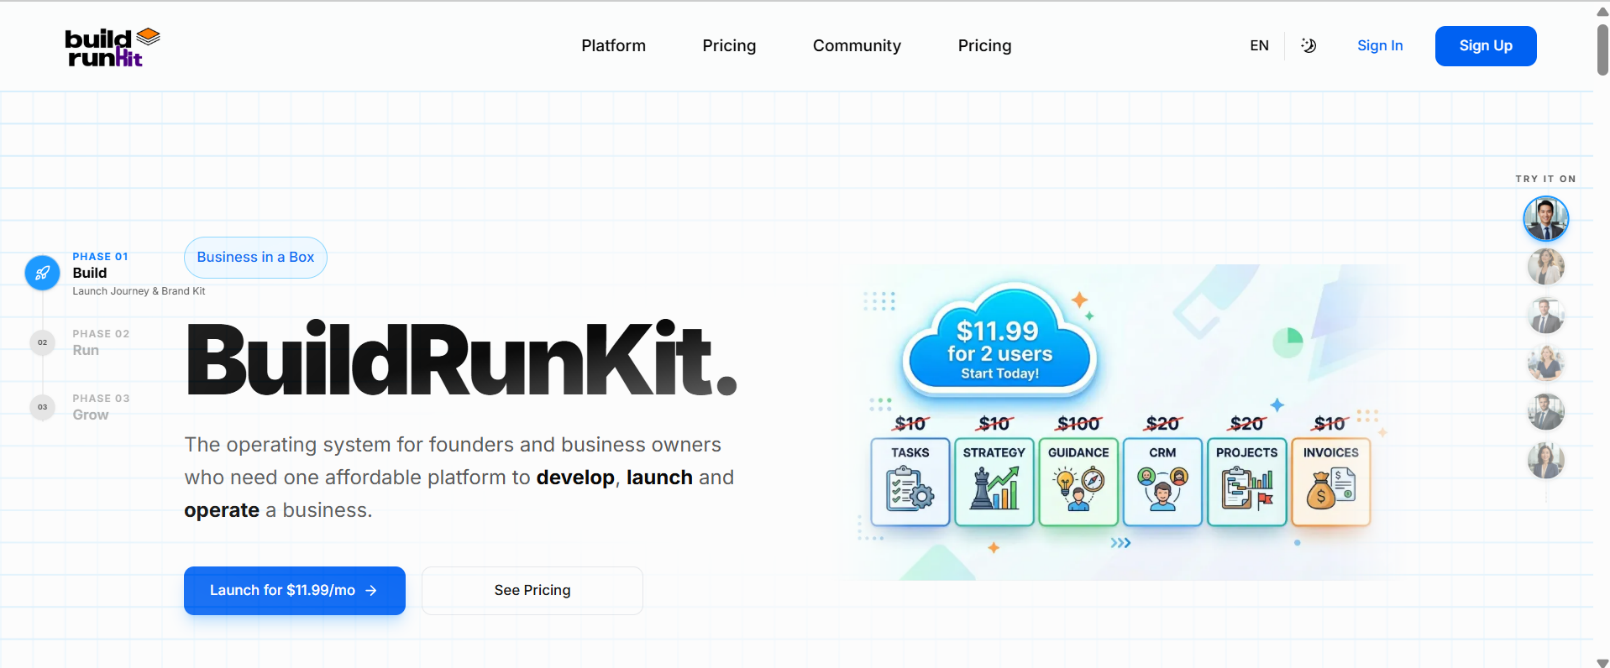
BuildRunKit is an all-in-one business operating system designed for founders, entrepreneurs, and growing teams. It bridges the gap between high-level strategy and daily execution by providing a unified workspace for planning, building, and running every aspect of a modern business.
Creating Your Account:
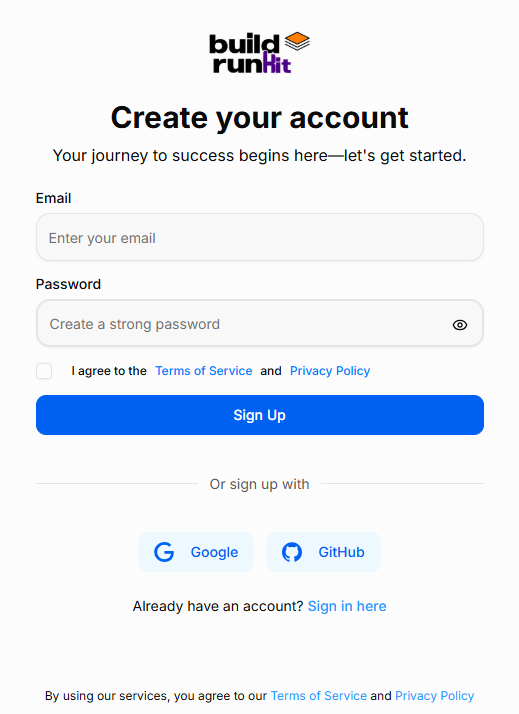
How to Sign Up:
Starting your journey with BuildRunKit is quick and easy. Follow these steps to set up your new account:
-
Email Address: Enter your primary email address in the Email field.
-
Create a Password: Enter a strong, secure password. Use the eye icon to double-check your typing.
-
Terms & Privacy: Review the Terms of Service and Privacy Policy, then check the box to confirm your agreement. This is required to proceed.
-
Complete Registration: Click the blue Sign Up button to create your account.
-
Alternative Options: You can also register instantly using your existing Google or GitHub account by clicking the buttons at the bottom.
-
Already a User? If you accidentally landed on this page, click "Sign in here" at the bottom to go back to the login screen.
Accessing Your Workspace
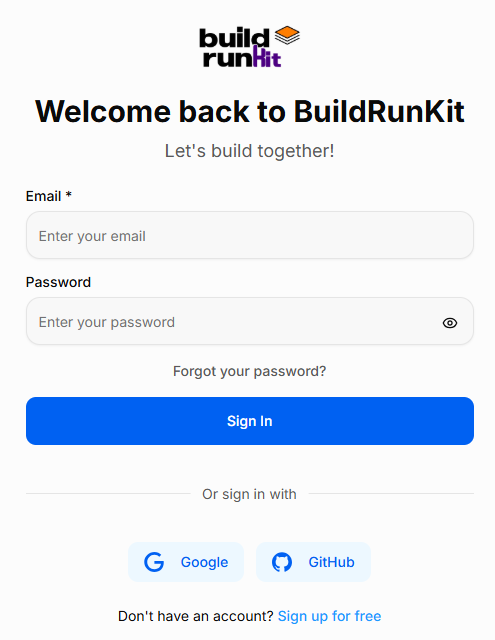
How to Sign In:
Accessing BuildRunKit is simple and secure. Follow these steps to log in to your account:
-
Email & Password: Enter your registered work email address and password in the provided fields. You can click the eye icon in the password field to verify your entry.
-
Social Login: For faster access, you can choose to sign in using your Google or GitHub account by clicking the respective buttons at the bottom.
-
Forgot Password: If you’ve forgotten your credentials, click the "Forgot your password?" link just above the Sign In button to receive a reset link via email.
-
New Users: If you don't have an account yet, click the "Sign up for free" link at the very bottom to begin your registration.
Initial Onboarding & Role-Based Dashboards
Wizard-Style Onboarding: After completing your registration or signing in for the first time, you are greeted with a streamlined, wizard-style interface. This walkthrough allows you to instantly input your basic information, select your initial User Type, and start configuring your personal brand right from the start.
Theme & Device Compatibility: The onboarding screens and all subsequent dashboard components are engineered to ensure smooth responsiveness across all devices and perfect compatibility with both Light and Dark themes.
The 4 Role-Based Dashboards: Once onboarding is complete, the platform provides 4 distinct, role-based dashboard architectures. Each layout filters out background noise to highlight the exact workspace metrics and tools most relevant to your specific job type:
Founder View: Tailored for high-level startup execution and business oversight.
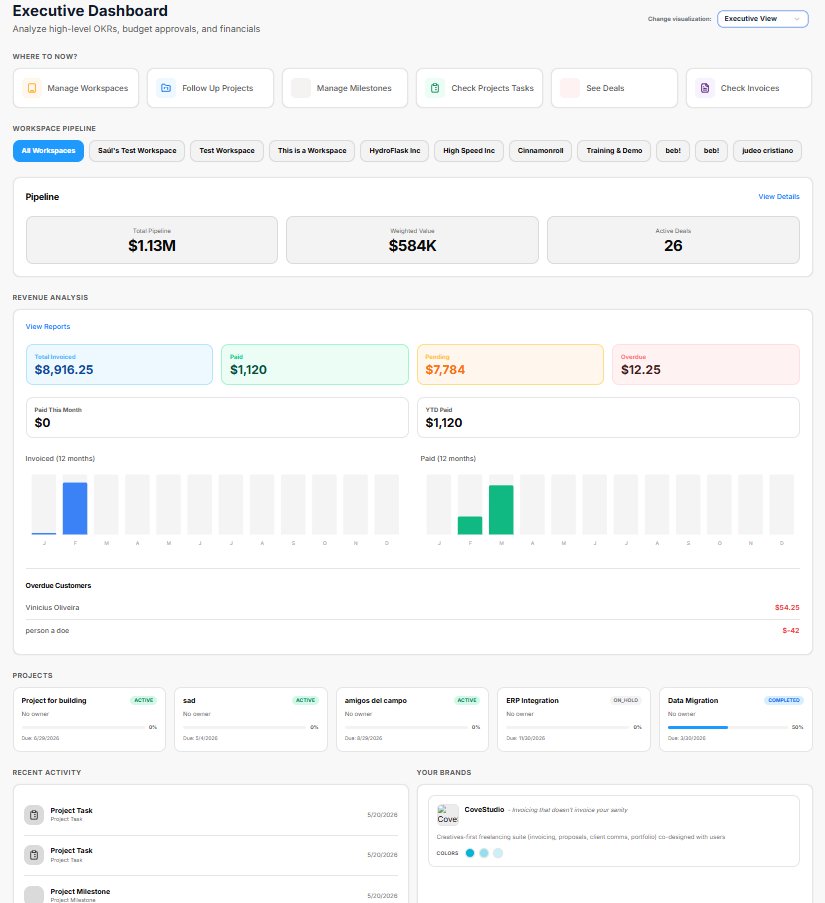
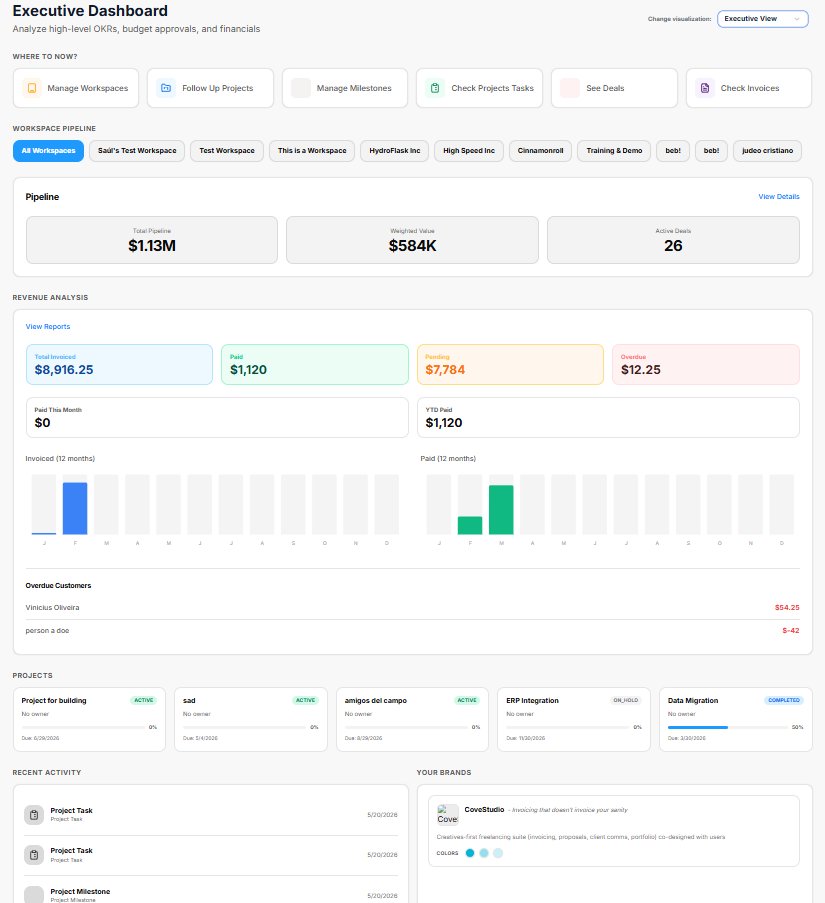
Executive View: Optimized for corporate management, tracking, and leadership oversight.
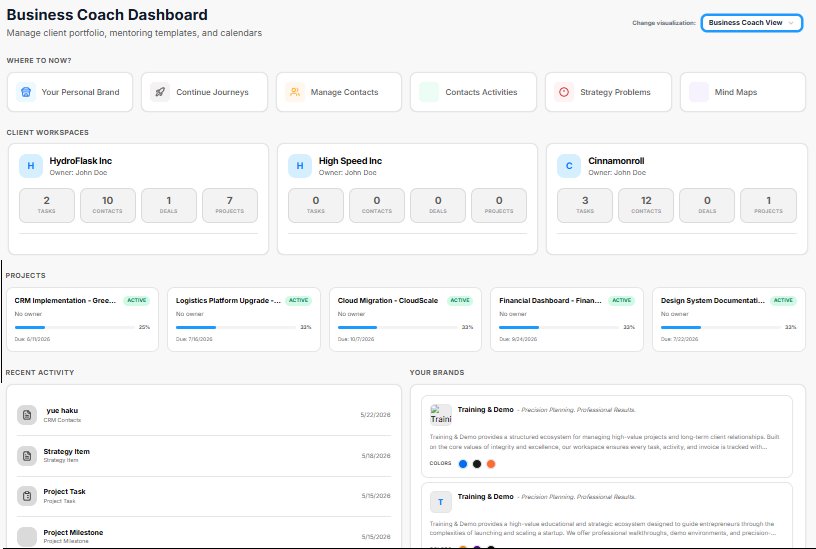
Business Coach View: Structured for mentorship tracking, strategy planning, and cohort overviews.
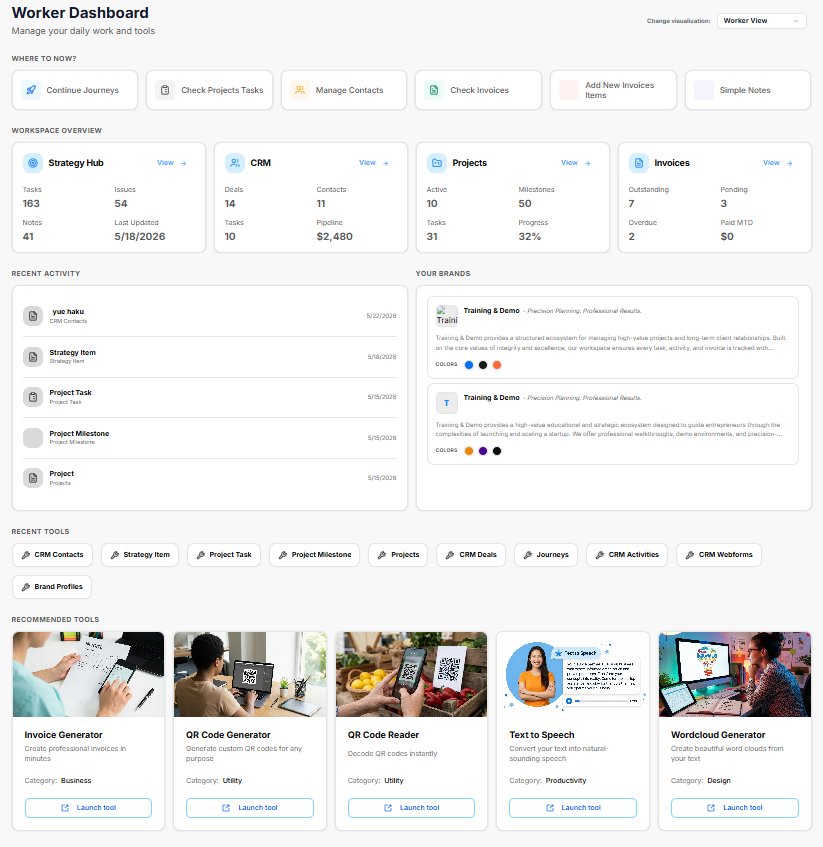
Worker View: Focused heavily on day-to-day task execution, individual assignments, and direct workflows.
Dynamic User Type Switching: The home screen includes a "Dashboard Select" interface menu. Whenever you manually switch your dashboard view to a different role, the system automatically updates your active User Type in the background to match your current workflow seamlessly.
Universal Shortcuts: No matter which of the 4 dashboards you are using, each home screen features a dedicated "Shortcuts" section. This allows you to rapidly launch specific tools and jump directly to different sections of the application with a single click.