
Strategy Hub: Tasks Module
Strategy Hub: Tasks Module
The Tasks module within the Strategy Hub enables you to organize, track, and manage your operational action items using flexible Kanban boards or structured table lists.
Managing Tasks Boards
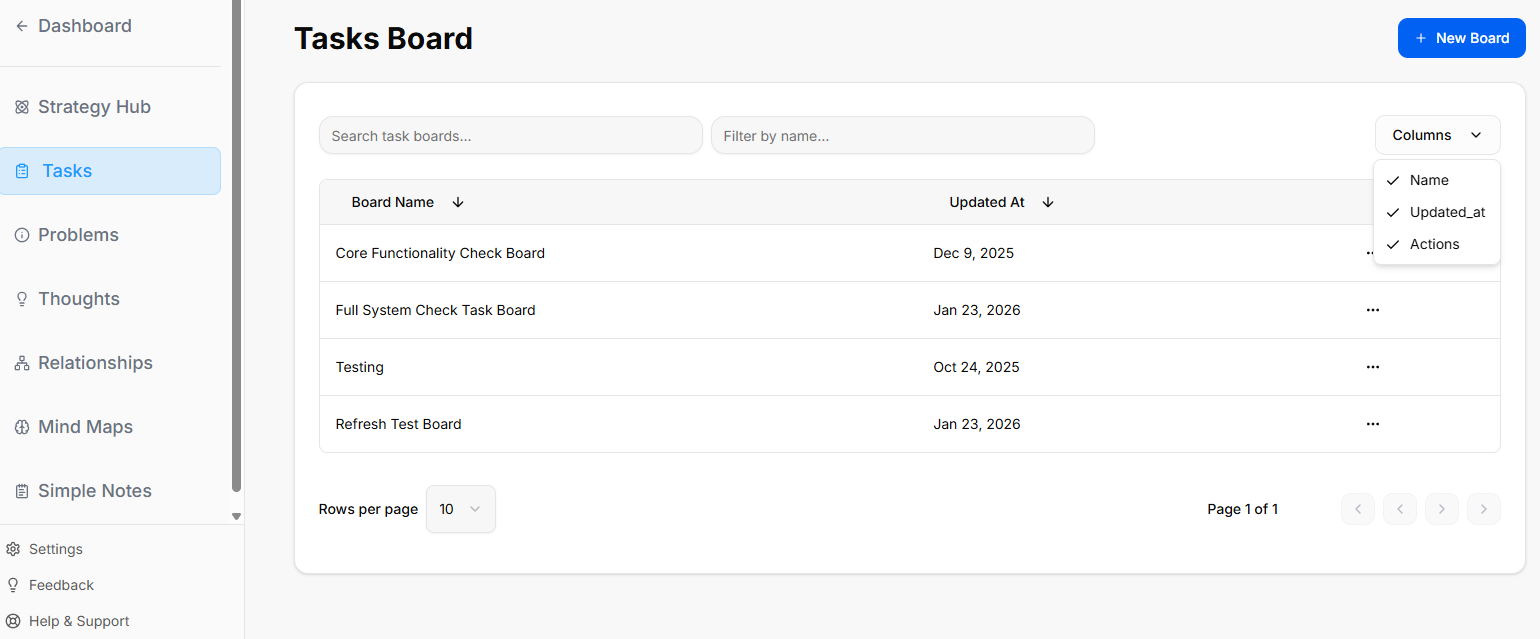
When you enter the Tasks module, you are presented with a global directory of your active planning environments:
-
Creating a Board: Click the blue + New Board button at the top right to start a fresh project environment.
-
Board Directory View: Track active spaces like your Core Functionality Check Board or Full System Check Task Board, along with their last relative modification date under the Updated At column.
-
Filtering & Columns: Use the top text bars to search specific project names. Use the Columns dropdown tool to show or hide parameters like Name, Updated_at, or Actions.
-
Board Context Menu: Clicking the three dots icon (
...) on the right side of any individual board row opens control configurations to View, Rename, or Delete that board.
Working Inside a Task Board
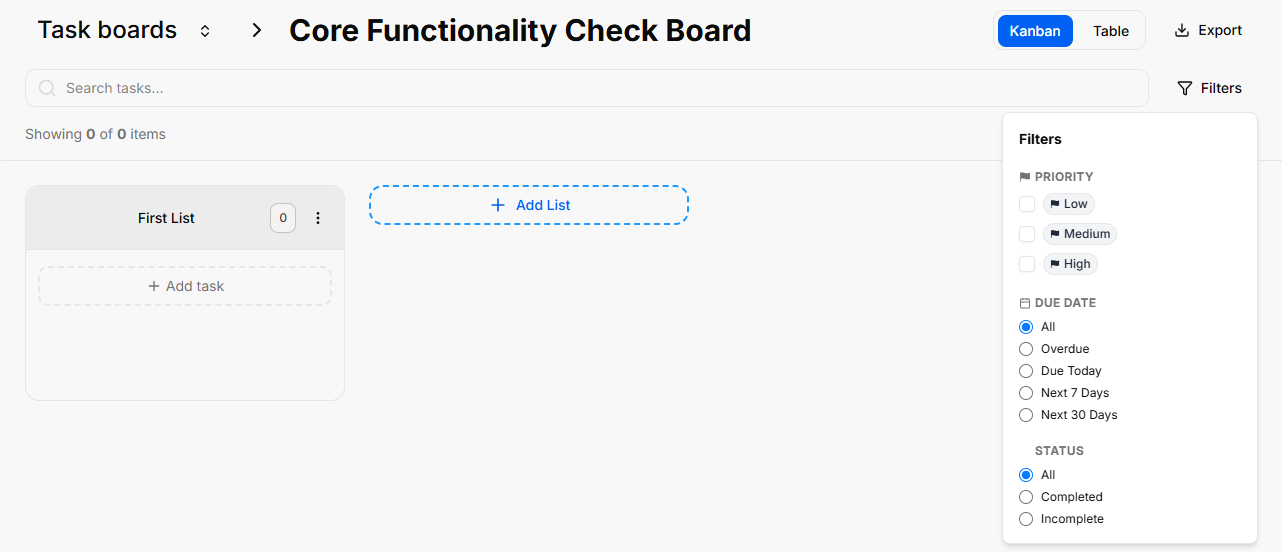
Opening an individual board reveals your workflow columns (lists) where standalone action cards reside:
-
Lists Management: Organize progression stages by clicking the + Add List container. Clicking the three dots (
...) next to a column header like "First List" allows you to select Rename, Bulk Options, or Delete List. -
Board Layout Controls: Switch between dynamic visual cards using Kanban view or structural line rows using Table view.
-
Data Retrieval: Use the Export button to extract your active list details, or utilize the right-hand Filters side-panel to slice view parameters by Priority (Low, Medium, High), Due Date (Overdue, Due Today, Next 7/30 Days), or completion Status.
Adding and Populating Tasks
You can populate your workflow boards using quick single entries or rapid multi-line creation tools:
Bulk Tasks Creation
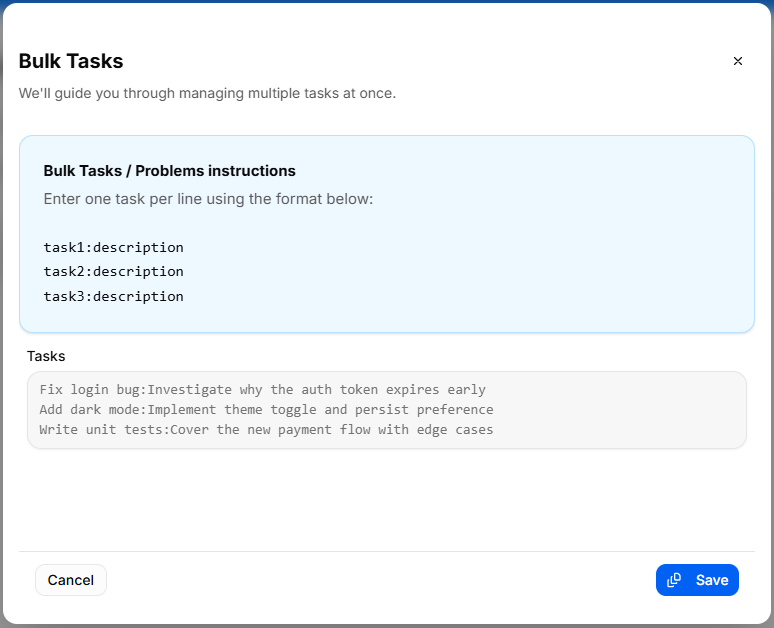
To quickly seed a list with multiple workflow elements without opening individual cards:
-
Click the list settings menu and select Bulk Options.
-
In the Bulk Tasks workspace modal, enter one task item per line.
-
Use the explicit colon format:
task:description(e.g.,Fix login bug:Investigate why the auth token expires early). -
Click the blue Save button to automatically generate distinct task cards down your targeted list.
Individual Task Management & Customization

To configure granular details for an individual work item, click + Add task or click on any existing card to launch the editor window:
-
Task Title: Provide a concise action statement at the top input line.
-
Assignee: Use the selection dropdown to route accountability to a team member, or click Add External Assignee + to invite an outside contributor.
-
Due Date: Use the interactive Pick a date calendar picker to establish your hard deadline.
-
Priority: Designate importance tiers using the classification selector (Low, Medium, High).
-
Color: Assign colored visual identifiers (such as Pink) to make cards stand out on your board grid.
-
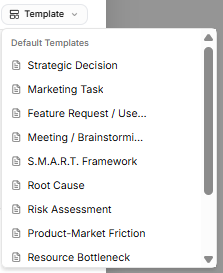
Task Templates:

Avoid starting from scratch by clicking the Template dropdown tool on the description block. Select from pre-structured blueprint outlines, including:-
Strategic Decision
-
Marketing Task
-
Feature Request / User Story
-
Meeting / Brainstorming
-
S.M.A.R.T. Framework
-
Root Cause
-
Risk Assessment
-
Product-Market Friction
-
Resource Bottleneck
-
Technical Debt Audit (Note: If you haven't saved any custom layouts yet, the system will display a "No workspace templates yet" notice at the bottom of the list until you toggle on the "Save description as a template" switch.)
-
-
Description Editor: Fill out your action details manually, or toggle the Save description as a template switch at the bottom to store your layout for future use.
-
Status Action: Click the Mark as done check button to shift the task state instantly. Click Create Task to finalize.
Task Card Actions & Migration Assistant
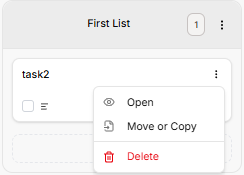
Once a card is created on your workspace list, clicking the three vertical dots icon directly on that task card opens immediate item controls:
-
Open: Launches the full individual configuration details view.
-
Delete: Permanently drops the selected card from your board workspace records.
-
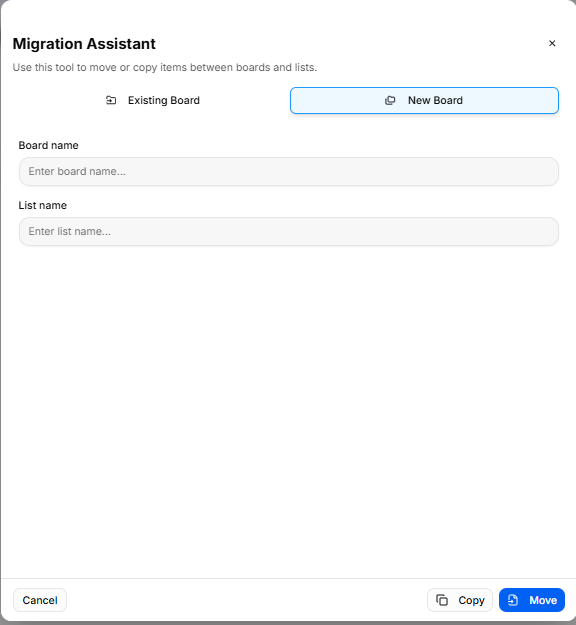
Move or Copy (Migration Assistant): Selecting this action triggers a modal that helps you reposition or duplicate task items across different spaces without losing formatting details:
-
Existing Board Tab: Reposition or duplicate your item into another list layer inside any active environment already saved to your workspace profile.
-
New Board Tab: Type in a brand-new Board name and List name inline to build a fresh destination space on the fly, immediately routing the migrated card there.
-
Execution: Click the soft Copy button to clone the item, or click the blue Move button to shift the original record entirely.
-